Rocks and Minerals
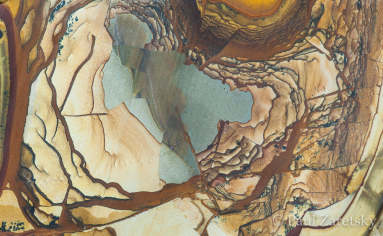
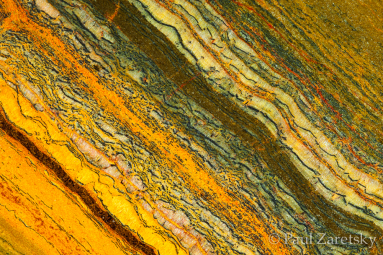
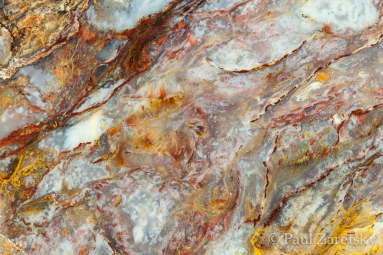
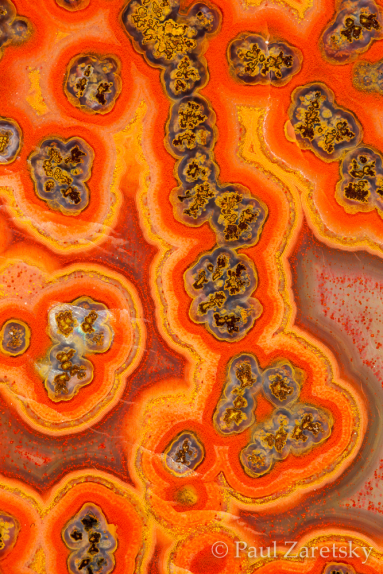
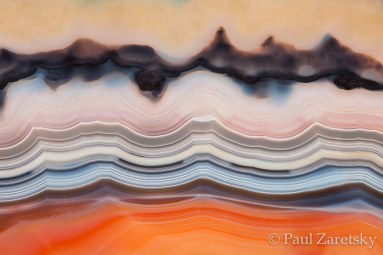
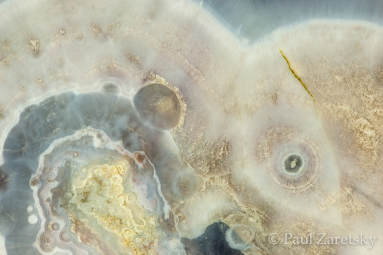
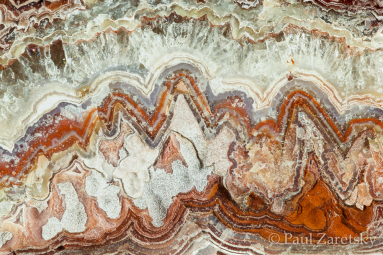
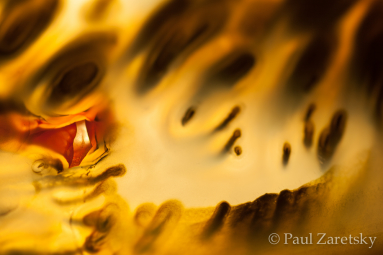
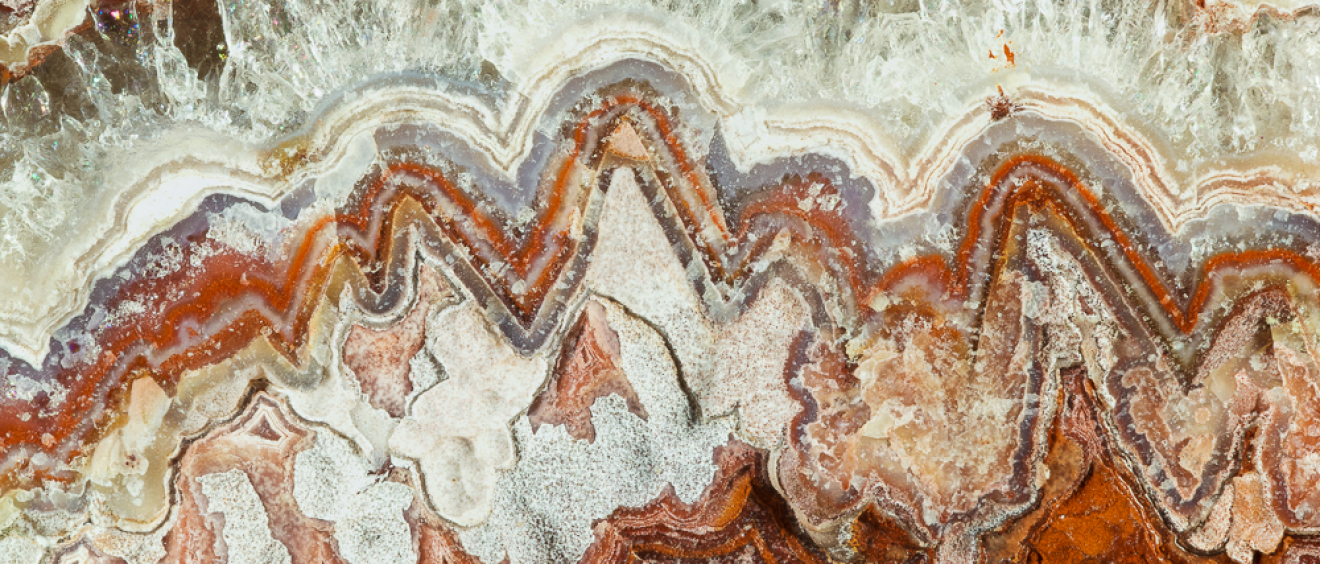
Not having the luxury of time to get out in the field as much as I’d like, I’ve been focusing (pun somewhat intended) on a studio project instead in recent months. I decided to take a friend up on her generous offer to photograph her extensive rock and mineral collection. She’s actually been offering for a couple of years and I didn’t want to accept without giving the project the attention it deserves. Depending on the size and complexity of a specimen it can take many hours and dozens of exposures to feel like I’ve sufficiently captured what the rock has to offer. I’ll often go back multiple times to particularly interesting specimens with fresh eyes and discover new possibilities I hadn’t seen before. I’ve been at it now for a few months and still feel like I’m just scratching the surface. Each time I get together with my friend to borrow a new batch of specimens I learn more and more about how to id rocks, where certain types originate, and how they’re formed. My goal is to self-publish a coffee table book with my best images from the series when I feel the project has run it’s course, but in the meantime I’ll be offering a selection as prints and notecards during upcoming shows in the fall.
For anyone interested in my set-up to photograph the specimens: I’m shooting RAW images with a Canon 5d MKII full frame dslr, Canon 100 f/2.8L macro, and ef 12 and 25 extension tubes (see resources). The camera is mounted on a tripod with a macro focusing rail aimed straight down on the specimens. The area of rock and mineral being photographed ranges from approx. the size of a large deck of cards to about 1/2 the size of a postage stamp. Lighting is provided by 2 desk lamps with daylight balanced florescent bulbs at a 45 degree angle at 3 and 9 o’clock. I’m using cross polarization (polarizing filters over both lights and also the camera lens) to help control glare and reflections and allow the camera to see deeper into the rock. Some of the thinner slabs are backlit with a daylight balanced light table which gives the affect of the rock glowing from within. As long as I have things leveled with the rock surface parallel to the sensor plane, I’m able to get away with midrange f-stops in the lens’ “sweet spot” around f/8 or f/11 when photographing the flattest slabs. Exposure times vary depending on the color and reflectivity of the rock, but are typically a few seconds to 30 seconds. On specimens that have a more uneven surface, or if I have to shoot at a slight angle to bring out a rock’s chatoyancy (a colorful reflectance that looks similar to a cat’s eye), I’ve been shooting multiple images focused at different points in the frame at a more open aperture and then merging these images with software to attain full depth of field. So far I’ve had good results using Helicon Focus. There’s also an occasional image that requires manual exposure blending in Photoshop to control dynamic range. With those exceptions all other post processing is being done in Adobe Lightroom.
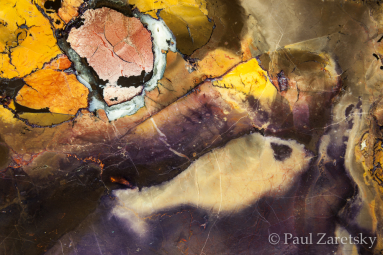
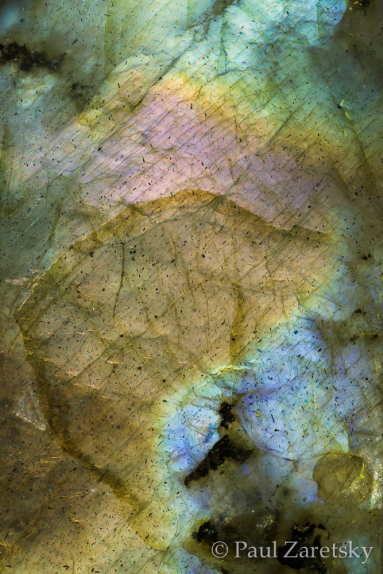
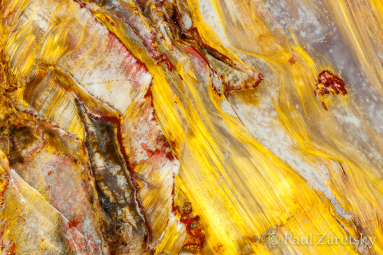
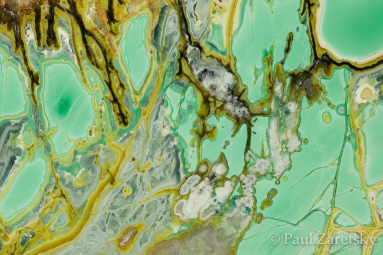
Here’s a small sample of images that I’ve been happy with so far…

